- Published on
Self hosting WordPress with Nginx on Ubuntu
- Authors

- Name
- Karan Jadhav
- @iamkaranjadhav
Introduction
Hey everyone! In this post, we're going to learn how to self-host WordPress on Ubuntu using Nginx as our web server.
WordPress is the world's most popular content management system, powering over 40% of all websites. It's versatile, user-friendly, and perfect for blogs, business websites, and e-commerce platforms alike.
- Why Nginx and not Apache?
- Prerequisites
- Installation
- Step 1: Update the system
- Step 2: Installing Nginx
- Step 3: Installing and Securing MySQL
- Step 4: Installing PHP and Required Extensions
- Step 5: Setting Up the WordPress Database
- Step 6: Downloading and Configuring WordPress
- Step 7: Configuring Nginx for WordPress
- Step 8: Completing the WordPress Installation
- Step 9: Configuring HTTPS with Let's Encrypt
- Step 10: Finalizing the Setup
- Basic WordPress Security Measures
- Performance Optimization
- Troubleshooting Common Issues
- Conclusion
- Additional Resources
Why Nginx and not Apache?
Traditionally, Apache has been the most popular web server for hosting WordPress sites. However, Nginx has gained popularity in recent years due to its performance and scalability. Nginx is known for its ability to handle high traffic loads efficiently and is often used in conjunction with other technologies like PHP-FPM to improve performance.
Here are some reasons why you might choose Nginx over Apache for hosting WordPress:
- Performance: Nginx is known for its speed and efficiency, especially for static content.
- Scalability: It's easier to scale your site as it grows.
- Control: You have full control over your server environment.
- Security: You can implement custom security measures.
Now, let's get started with the setup!
Prerequisites
- A server running Ubuntu 22.04 or more recent. This guide will use Ubuntu 24.04.
- Domain name pointed at your server's IP address.
- Basic familiarity with command-line operations
- Root or sudo access to your server
Installation
Step 1: Update the system
Before we start, it's always better to update the system to the latest version. You can do it by running the following command:
sudo apt update && sudo apt upgrade -y
Step 2: Installing Nginx
First things first, we need to install Nginx:
sudo apt install nginx
After installation, don't forget to allow the HTTP and HTTPS traffic through the firewall. You can do it by running the following commands:
sudo apt install ufw
sudo ufw allow 'Nginx Full'
sudo ufw enable
now you can go to your browser and enter your server's IP address. You should see the default nginx page.
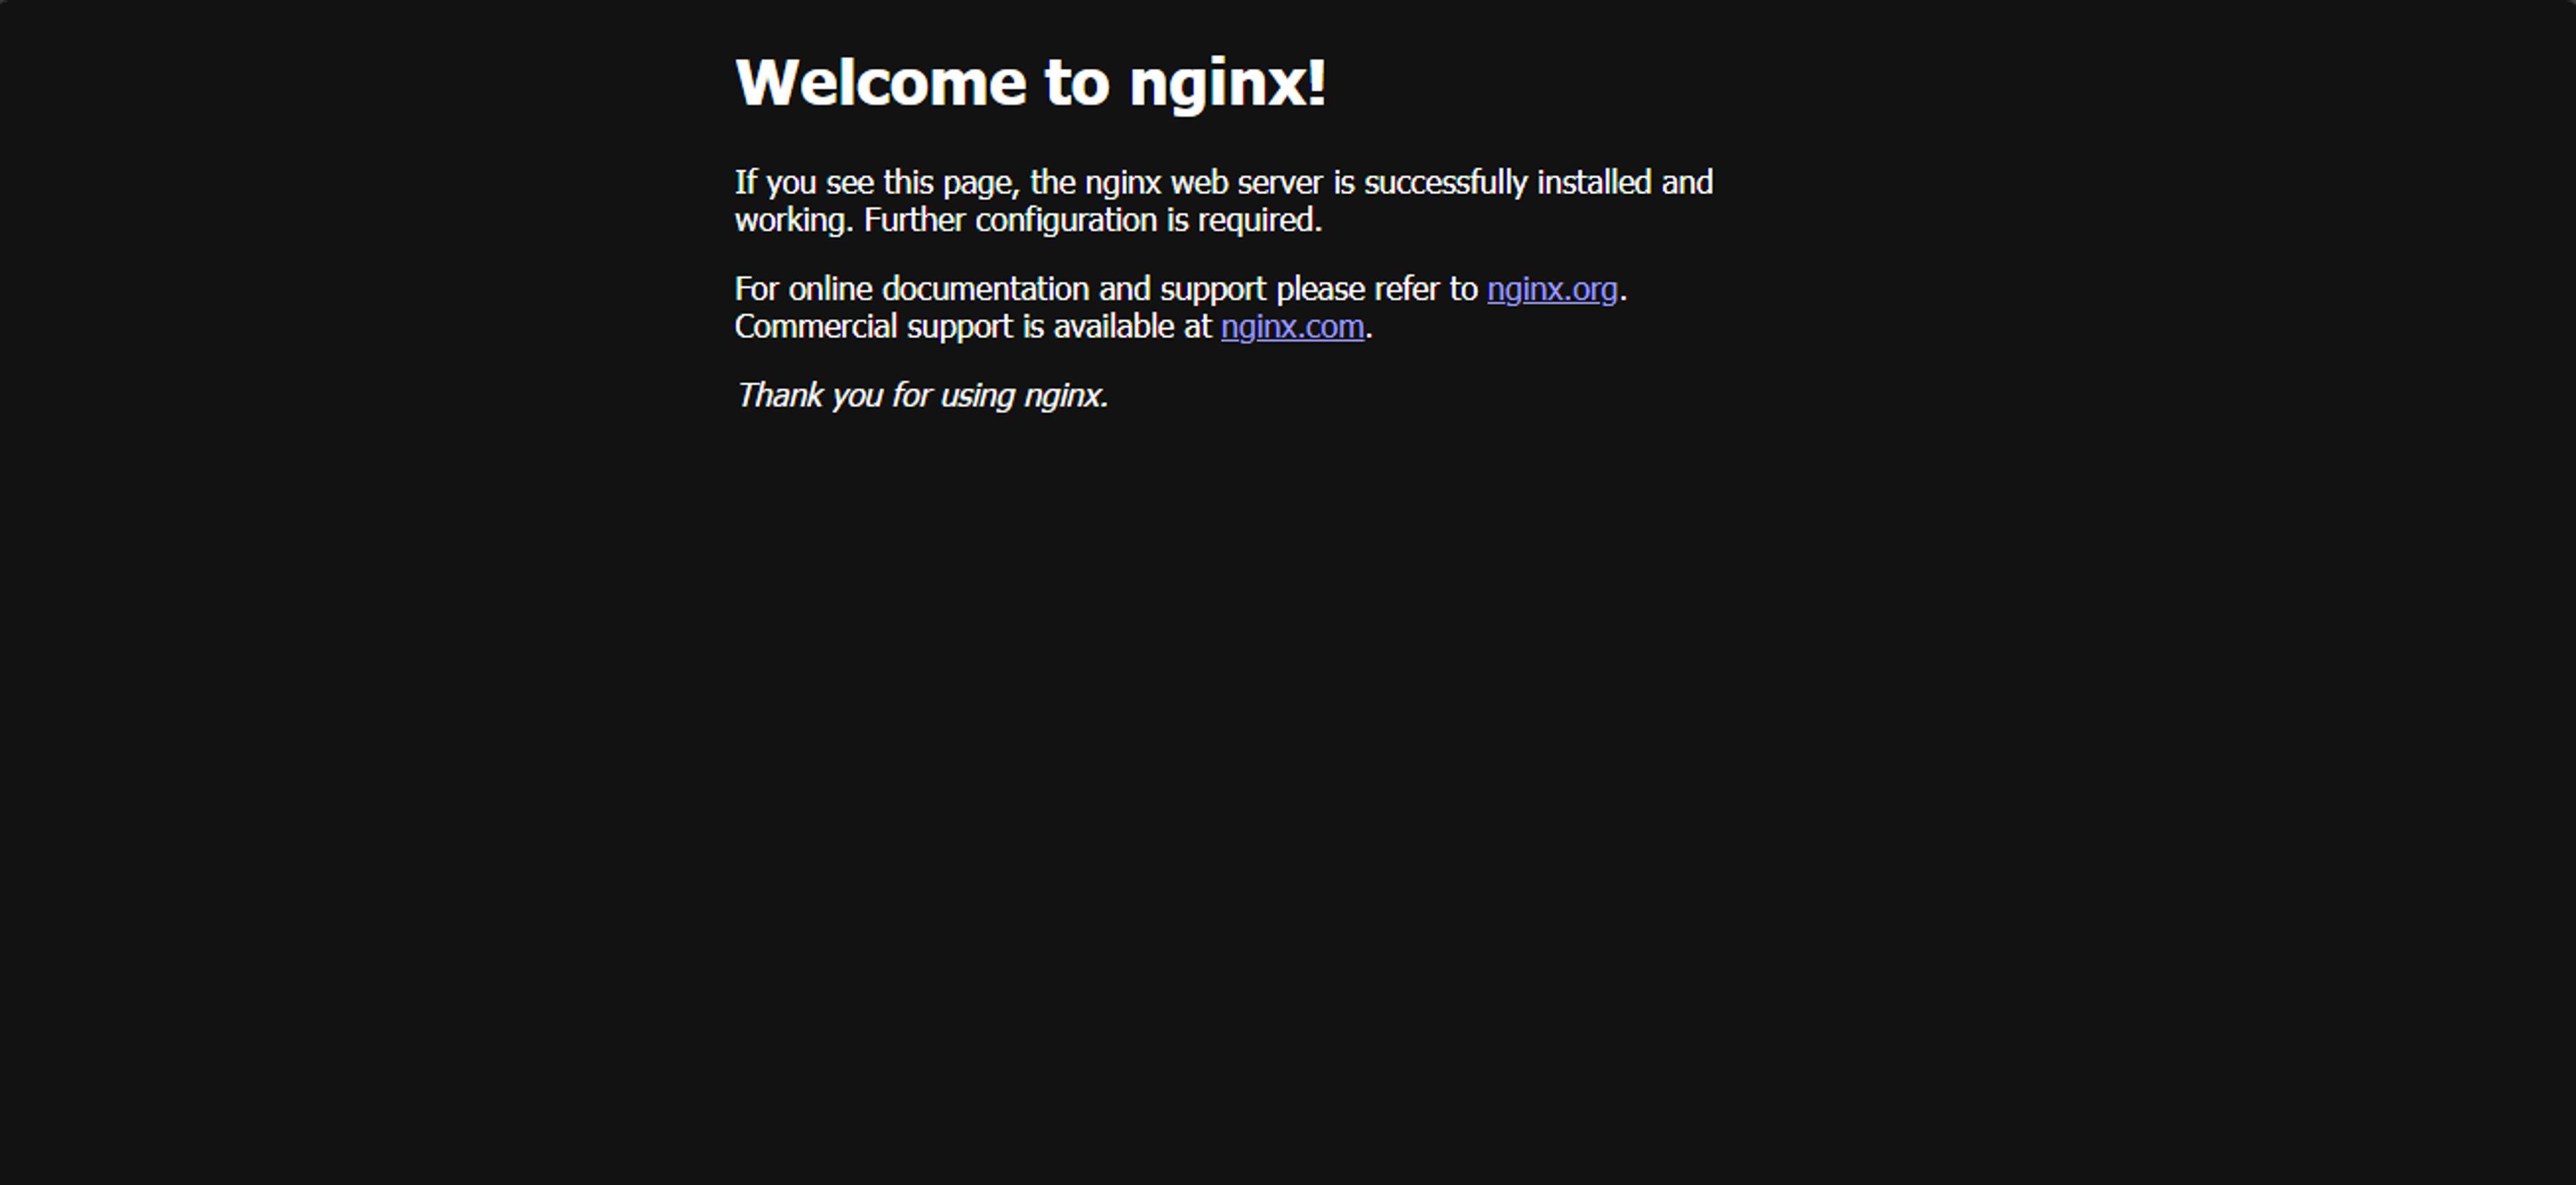
Explanation: Nginx is a powerful web server that excels at handling static content. The firewall (ufw) rules allow incoming web traffic to reach your server.
Good to know: Nginx can handle more concurrent connections than Apache, making it a popular choice for high-traffic websites.
Step 3: Installing and Securing MySQL
Next, let's set up our database:
sudo apt install mysql-server
Secure your MySQL installation by running:
sudo mysql_secure_installation
Follow the the prompts to secure your MySQL installation and remove insecure defauls. This setup is crucial for maintaining secure database environment.
Explanation: MySQL is the database that will store your WordPress content. The secure installation process helps protect your database from common vulnerabilities.
Step 4: Installing PHP and Required Extensions
WordPress is built using PHP, so we need to install PHP along with some necessary extensions:
sudo apt install php-fpm php-mysql php-curl php-gd php-intl php-mbstring php-soap php-xml php-xmlrpc php-zip
Explanation: PHP is a server-side scripting language that WordPress uses to generate dynamic content. The extensions provide additional functionality that WordPress needs to run properly.
Step 5: Setting Up the WordPress Database
log into MySQL as the root user:
sudo mysql -u root -p
Now run the following sql qeuries to create a new database and user for WordPress:
CREATE DATABASE wordpress;
CREATE USER 'wordpressuser'@'localhost' IDENTIFIED BY 'your_strong_password';
GRANT ALL PRIVILEGES ON wordpress.* TO 'wordpressuser'@'localhost';
FLUSH PRIVILEGES;
EXIT;
Explanation: These commands create a new database called wordpress, a new user called wordpressuser, and grant the user full access to the database. Make sure to replace your_strong_password with a secure password.
Step 6: Downloading and Configuring WordPress
Download the latest version of WordPress and extract it to the web root directory:
cd /tmp
wget https://wordpress.org/latest.tar.gz
tar xzvf latest.tar.gz
sudo mv wordpress /var/www/html/
Set the correct permissions on the WordPress files:
sudo chown -R www-data:www-data /var/www/html/wordpress
sudo chmod -R 755 /var/www/html/wordpress
Step 7: Configuring Nginx for WordPress
Create and open a new Nginx configuration file for your WordPress site:
sudo nano /etc/nginx/sites-available/wordpress
Add the following configuration to the file:
server {
    listen 80;
    server_name your_domain.com www.your_domain.com;
    root /var/www/html/wordpress;
    index index.php index.html index.htm;

    location / {
        try_files $uri $uri/ /index.php$is_args$args;
    }

    location ~ \.php$ {
        fastcgi_pass unix:/var/run/php/php-fpm.sock;
        fastcgi_index index.php;
        include fastcgi_params;
        fastcgi_param SCRIPT_FILENAME $document_root$fastcgi_script_name;
    }

    location ~ /\.ht {
        deny all;
    }

    location = /favicon.ico {
        log_not_found off;
        access_log off;
    }

    location = /robots.txt {
        log_not_found off;
        access_log off;
        allow all;
    }

    location ~* \.(css|gif|ico|jpeg|jpg|js|png)$ {
        expires max;
        log_not_found off;
    }
}
Explanation: This Nginx configuration file tells Nginx how to serve your WordPress site. Make sure to replace your_domain.com with your actual domain name.
Enable the configuration:
sudo ln -s /etc/nginx/sites-available/wordpress /etc/nginx/sites-enabled/
sudo nginx -t
sudo systemctl restart nginx
Explanation: his Nginx configuration tells the server how to handle requests for your WordPress site, including PHP processing and static file handling.
Good to know: The
try_filesdirective in the Nginx config enables WordPress permalinks, allowing for SEO-friendly URLs.
Step 8: Completing the WordPress Installation
Now, open your web browser and navigate to http://your_domain.com. You should see the WordPress installation page assking to select language like this one:
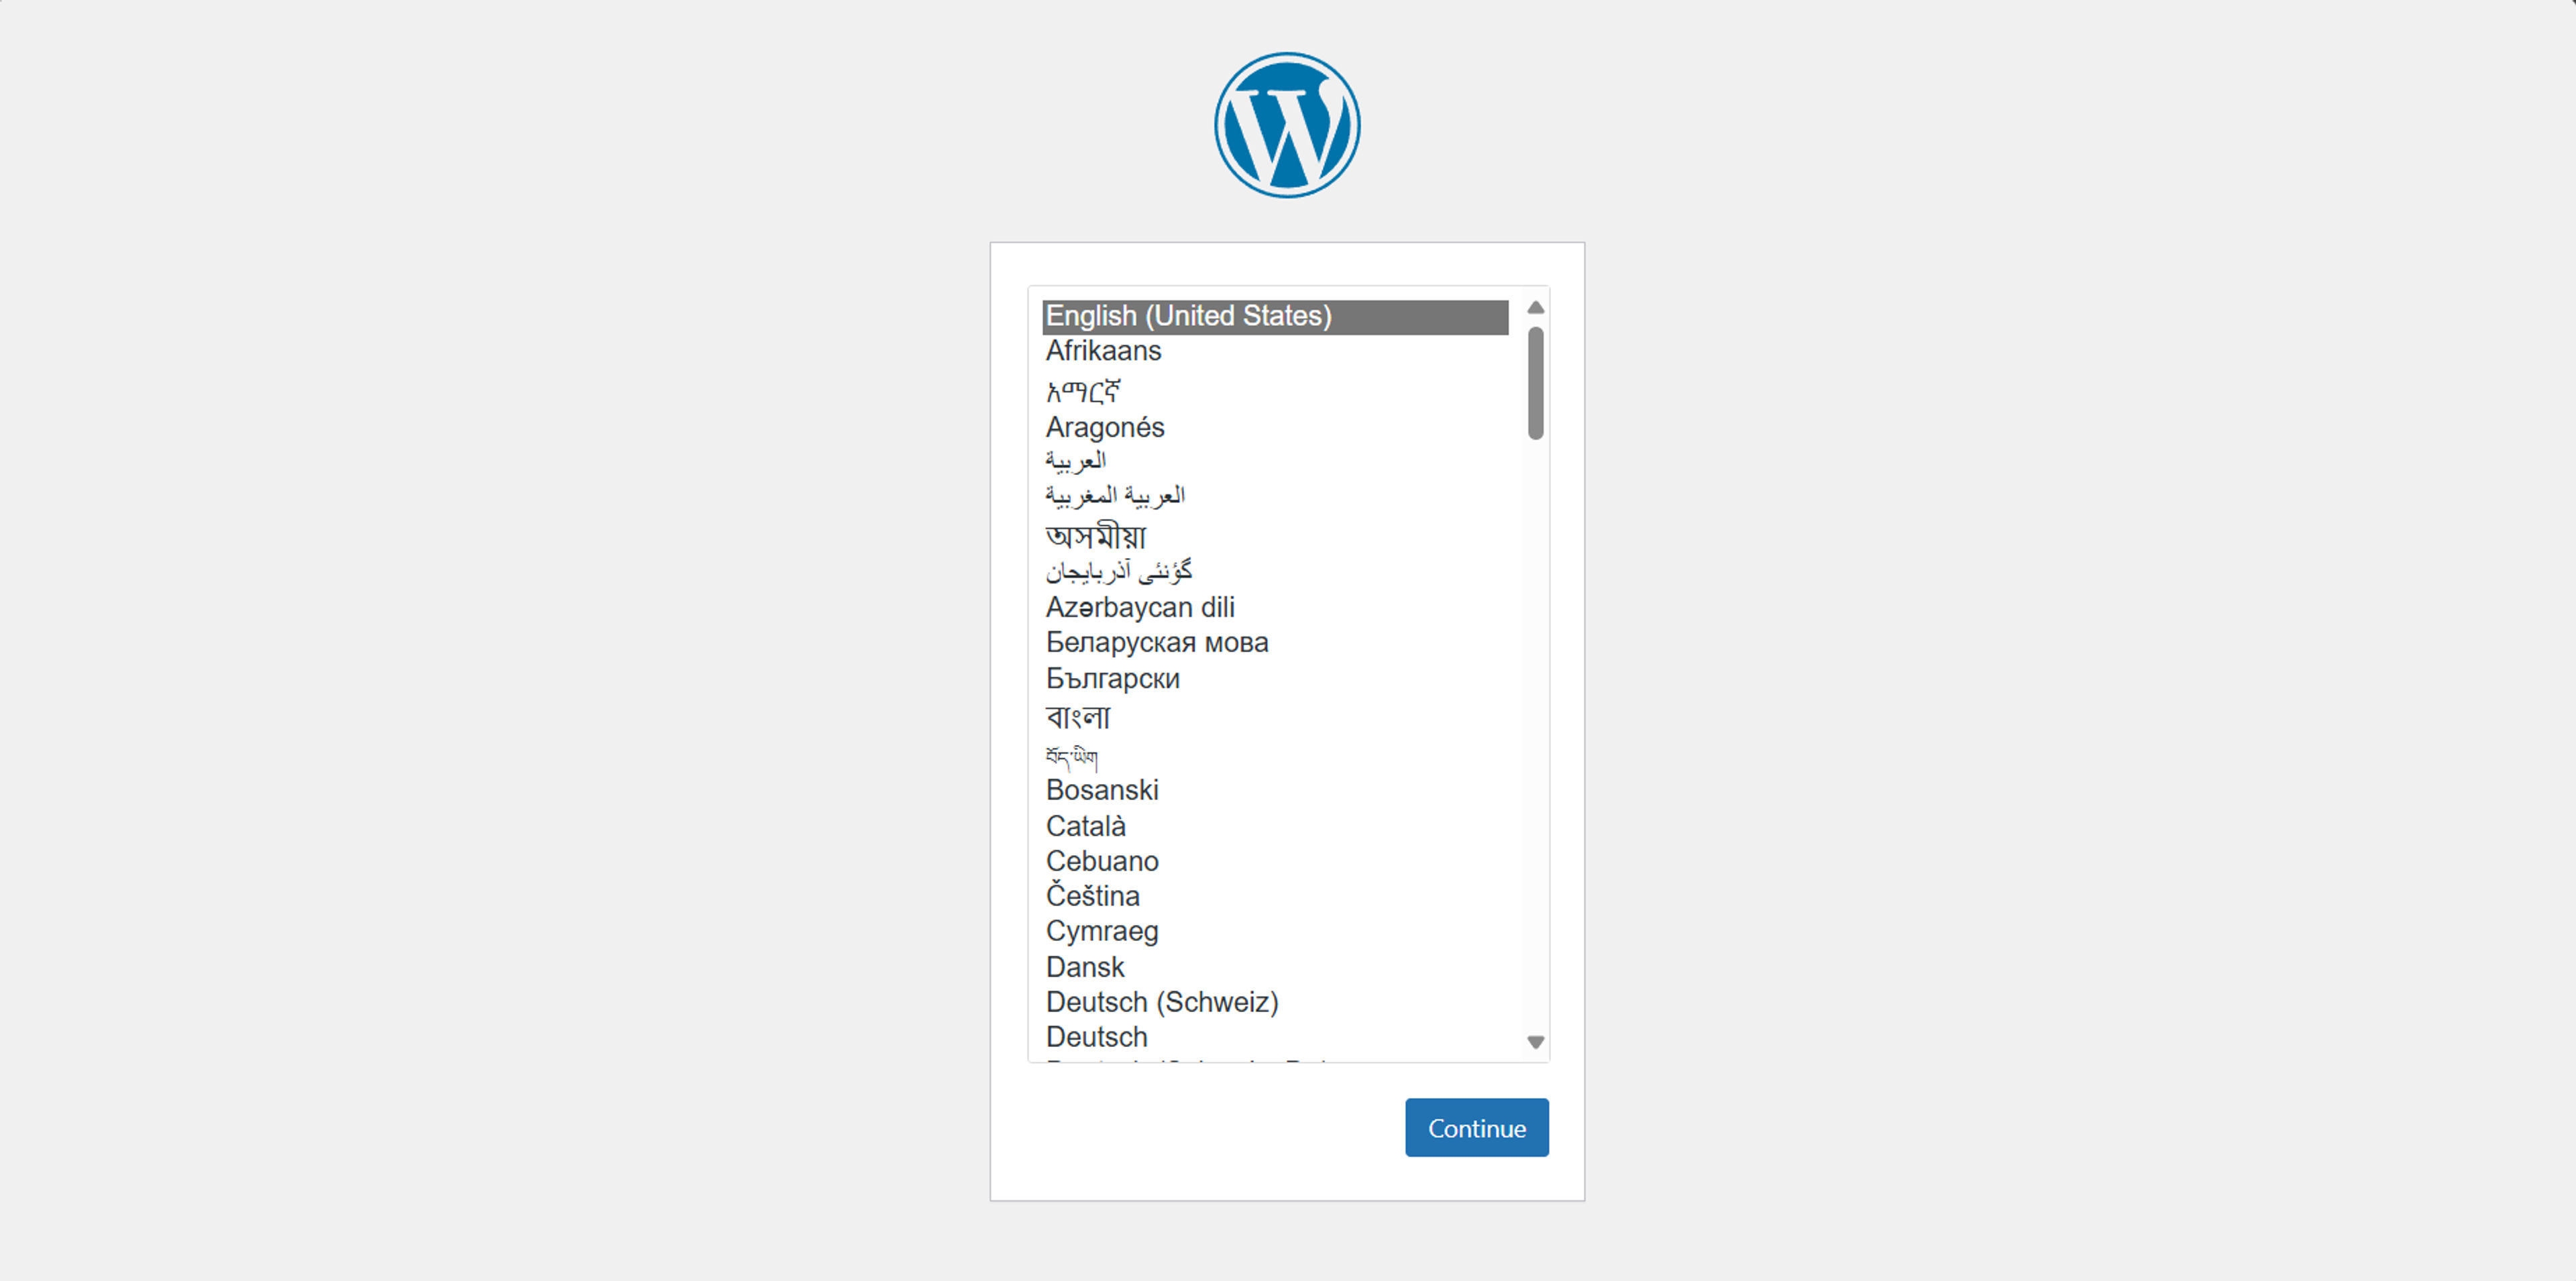
Click on the "Continue" button. You will be redirected to this page where you need to enter the database details:

Click on the "Submit" button. If everything is correct, you will be redirected to the page asking for site details:

Fill in the details and click on the "Install WordPress" button. Once the installation is complete, you will be redirected given the option to login to the WordPress dashboard.
Explanation: The WordPress installation wizard guides you through the process of setting up your WordPress site, including database configuration and site details.
Step 9: Configuring HTTPS with Let's Encrypt
To secure your WordPress site with HTTPS, you can use Let's Encrypt to obtain an SSL certificate. First, install Certbot:
sudo apt install certbot python3-certbot-nginx
Next, obtain the SSL certificate for your domain:
sudo certbot --nginx
This command will automatically find domains configured in Nginx and obtain an SSL certificate for them. Follow the prompts to complete the process.
Explanation: Let's Encrypt provides free SSL certificates that enable HTTPS for your site. The Certbot tool automates the process of obtaining and installing these certificates.
Fun Fact: Let's Encrypt, the certificate authority used by Certbot, has issued over a billion free SSL certificates since its launch in 2015.
Step 10: Finalizing the Setup
After configuring HTTPS, you need to update your WordPress site URL to use https. You can do this by logging into the WordPress dashboard, navigating to Settings > General, and updating the WordPress Address (URL) and Site Address (URL) fields to use https.
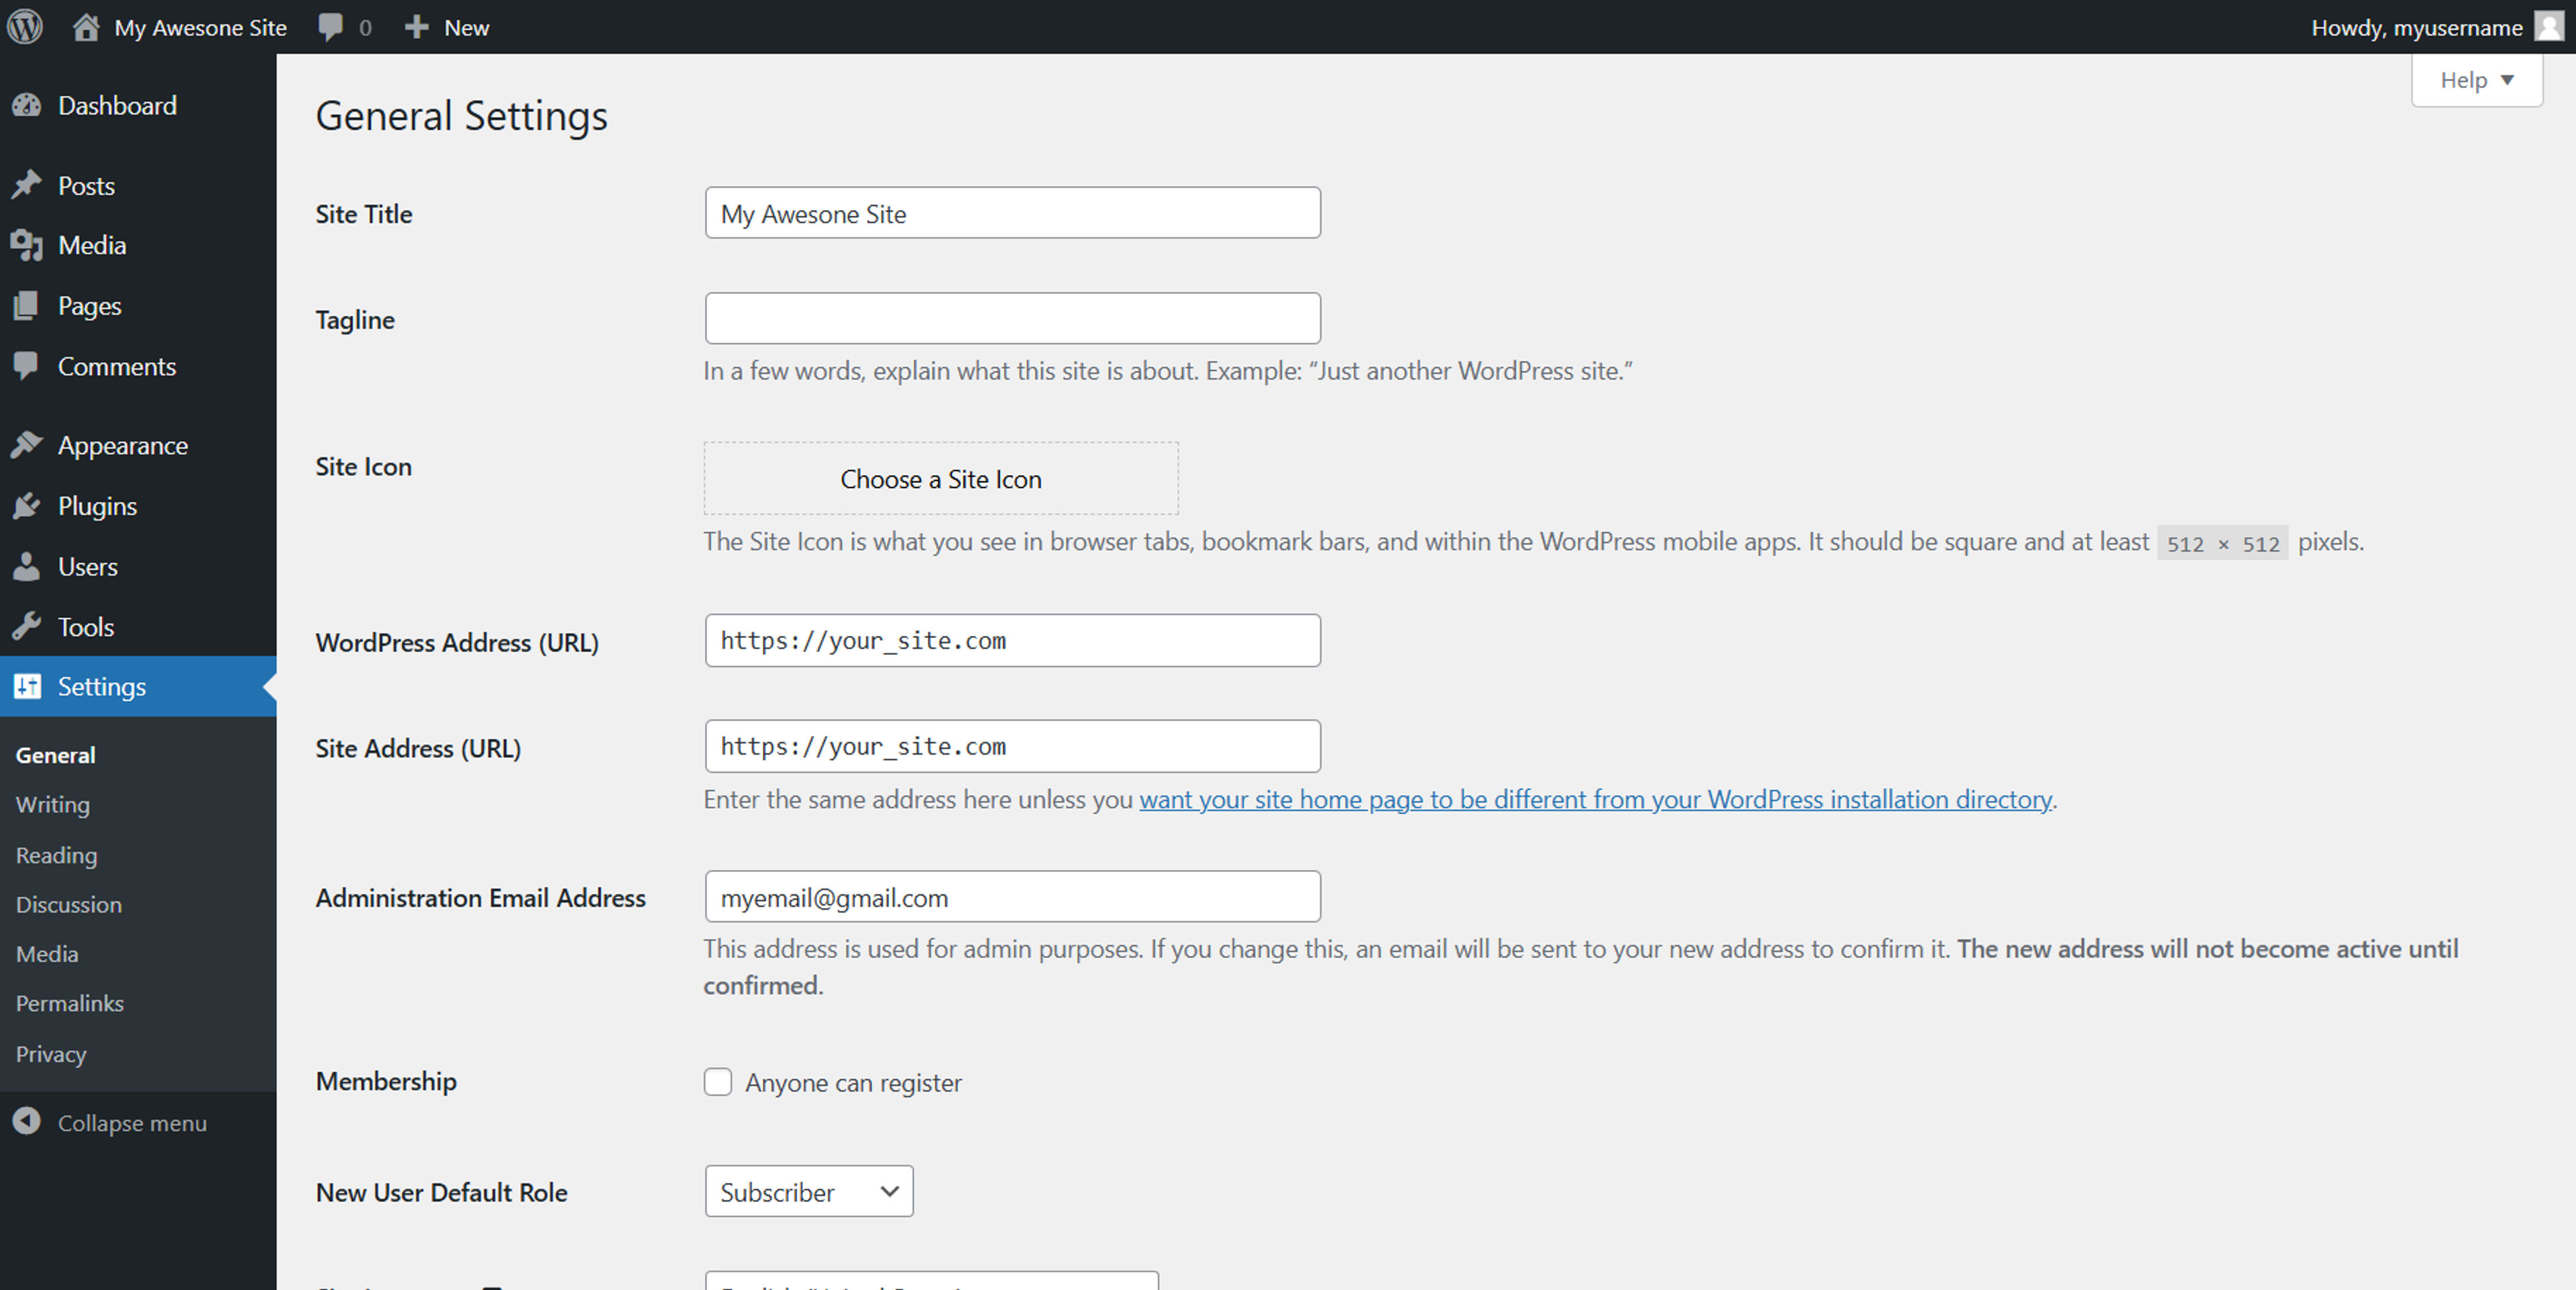
Explanation: This ensures all internal links use the secure HTTPS protocol.
Basic WordPress Security Measures
After installation, consider implementing these basic security measures:
- Use strong passwords for all user accounts
- Install a security plugin like Wordfence or Sucuri
- Keep WordPress core, themes, and plugins updated
- Limit login attempts using a plugin or Nginx configuration
- Disable file editing in the WordPress dashboard
Performance Optimization
To improve your WordPress site's performance on Nginx:
- Enable Nginx caching
- Use a caching plugin like W3 Total Cache or WP Super Cache
- Optimize images before uploading
- Minify CSS and JavaScript files
- Consider using a Content Delivery Network (CDN)
Troubleshooting Common Issues
If you encounter issues during or after installation:
- Check Nginx error logs:
sudo tail -f /var/log/nginx/error.log - Verify PHP-FPM is running:
sudo systemctl status php-fpm - Ensure correct file permissions on WordPress files
- Check WordPress debug log (enable in wp-config.php)
Conclusion
Congratulations! You've successfully self-hosted WordPress with Nginx on Ubuntu. This setup provides you with a powerful, flexible, and scalable platform for your website. Remember to keep your server, WordPress core, themes, and plugins updated for optimal security and performance.
Pro Tip: Consider setting up automated backups to protect your site's data. Tools like BackWPup can be configured to perform regular backups to remote storage.
Additional Resources
Happy blogging and best of luck with your WordPress site! 🚀