- Published on
Self hosting NextCloud with snap on Ubuntu
- Authors

- Name
- Karan Jadhav
- @iamkaranjadhav
Introduction
Hey Everyone, in this post we are going to learn how to self host NextCloud on Ubuntu. We are going to use snap to install the NextCloud which make the installation process very easy.
What is NextCloud?
NextCloud is a suite of client-server software for creating and using file hosting services. It is functionally similar to Dropbox, although NextCloud is free and open-source, allowing anyone to install and operate it on a private server. In contrast to proprietary services like Dropbox, the open architecture allows adding additional functionality to the server in form of applications and enables the user to have full control of their data.
Prerequisites
- A server running Ubuntu 20.04 or more recent. This guide will use Ubuntu 20.04.
- A non-root user with sudo privileges.
- A domain name pointed at your server's IP address.
Installation
Step 1: Update the system
Before we start, its always better to update the system to the latest version. You can do it by running following command
sudo apt update && sudo apt upgrade
Step 2: Install NextCloud
NextCloud is available as a snap package using which we can easily install it. Run the following command to install NextCloud.
sudo snap install nextcloud
output
nextcloud 27.1.7snap1 from Nextcloud✓ installed
Once the installation is complete, you can access the NextCloud web interface by visiting your server's IP address in your web browser. You will see following screen.
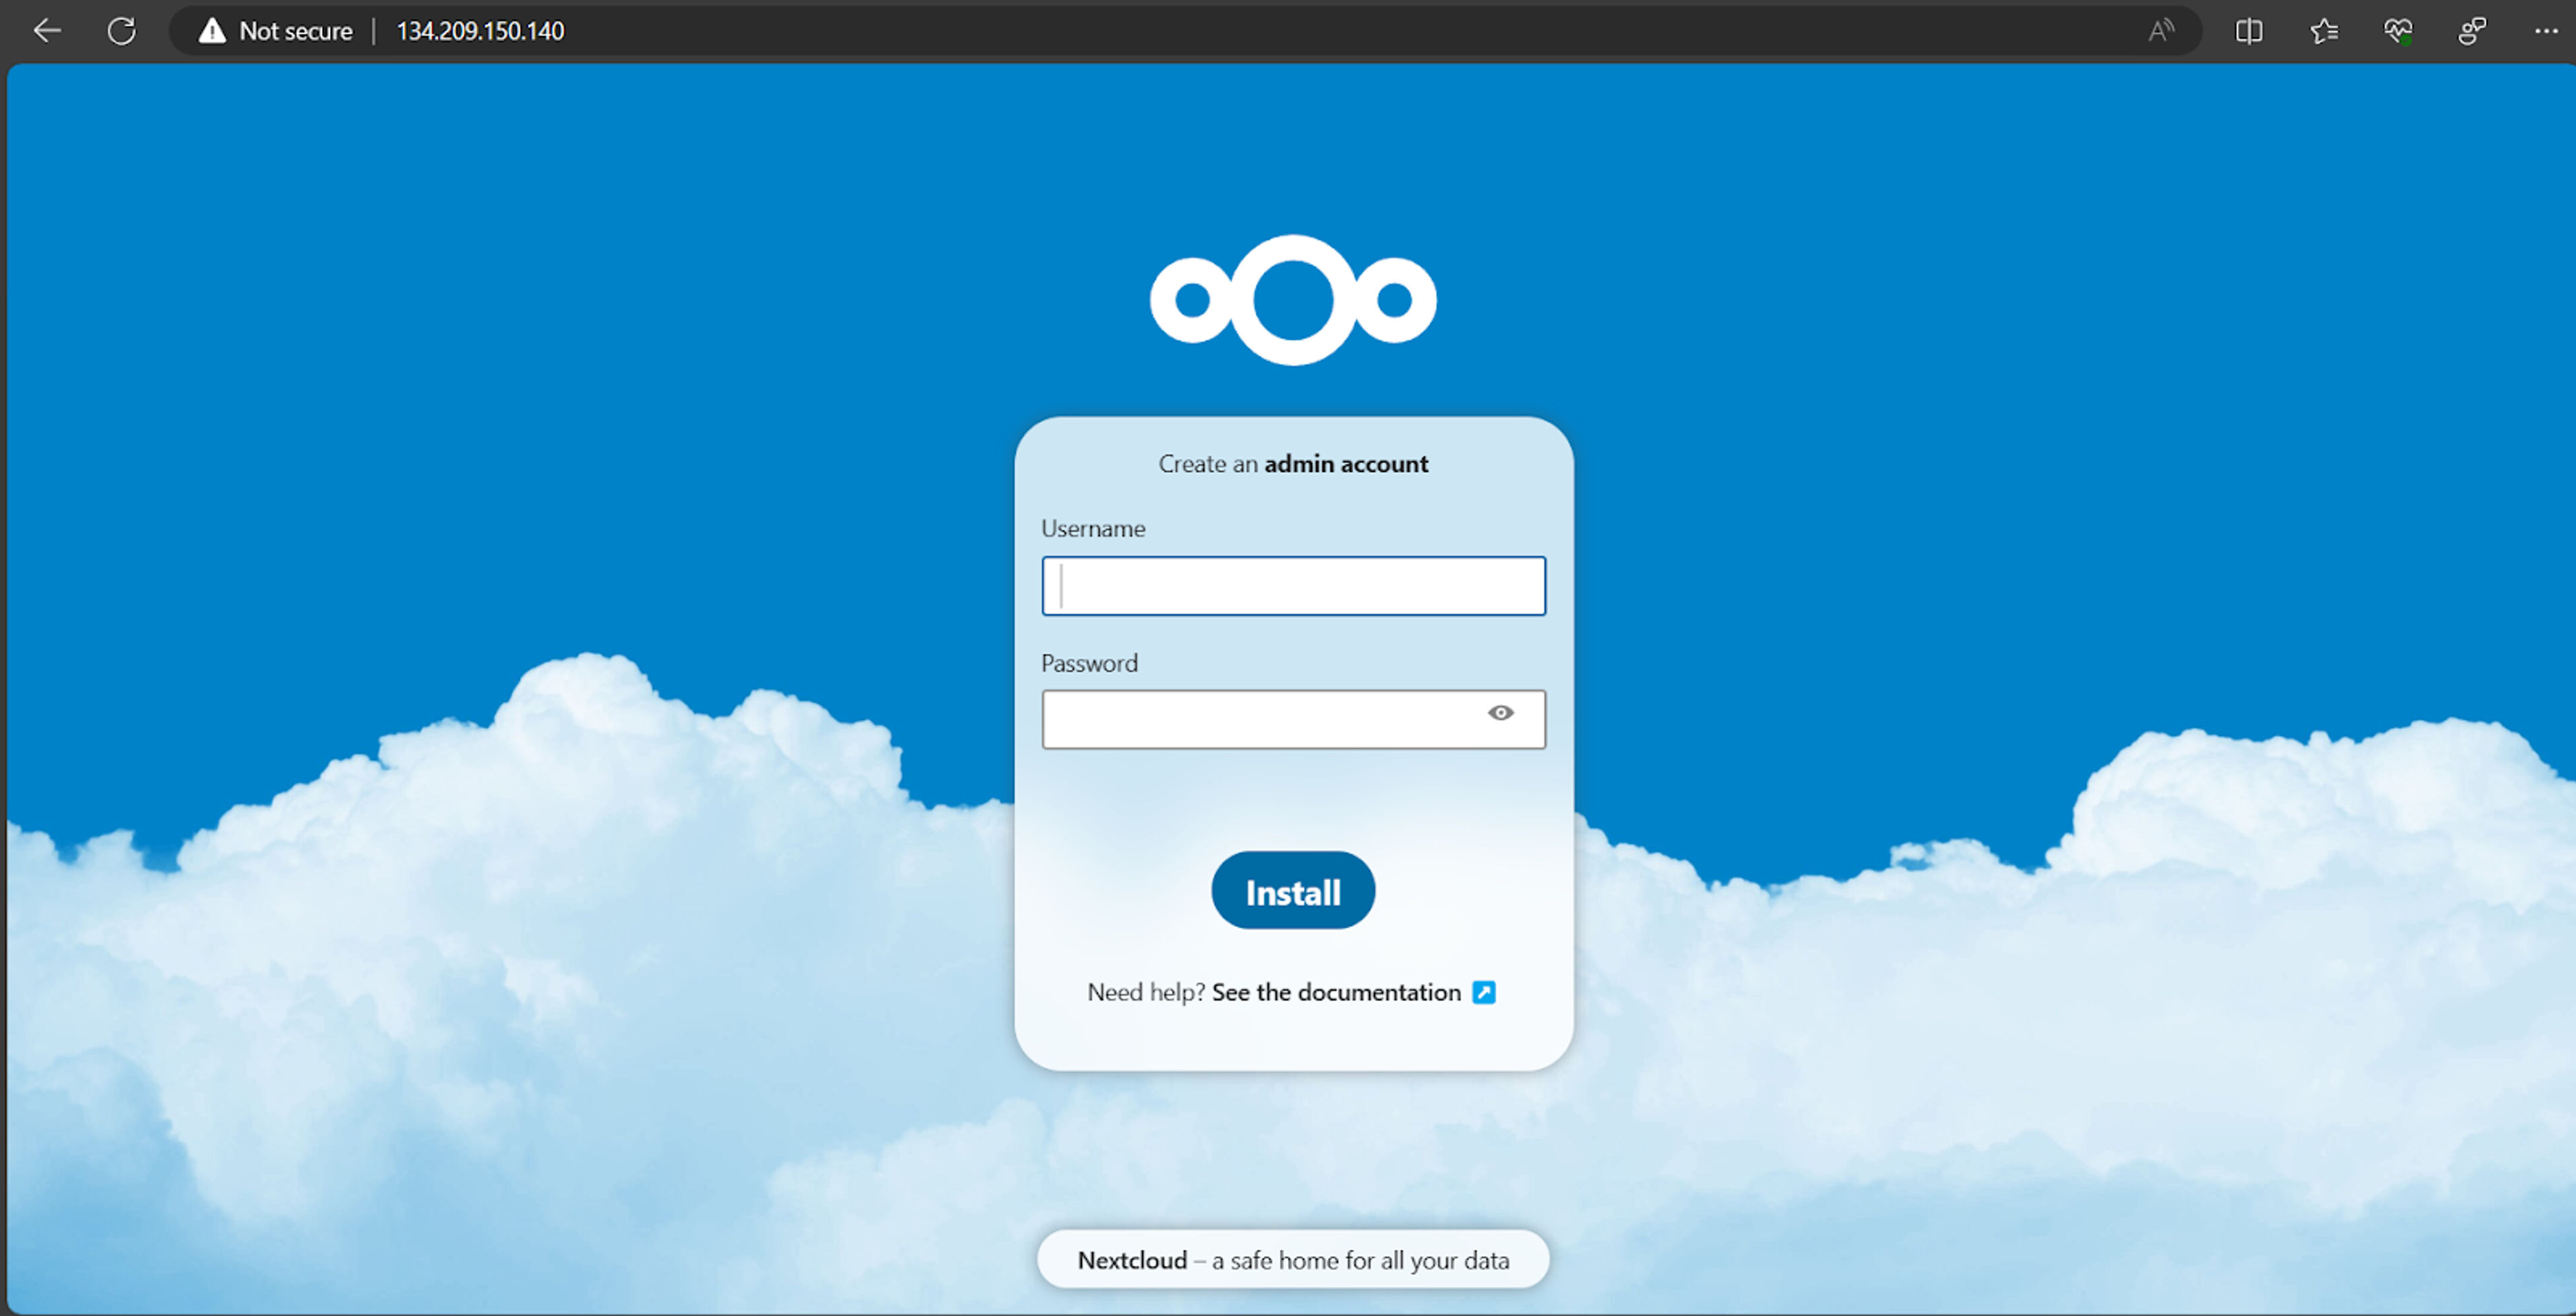
You will be asked to create a admin account. Just fill in the details and click on "Install" button. Once the installation is complete, you will be redirected the page asking to install recommended apps. You can install them if you want or skip it. You will be redirected to the NextCloud dashboard.
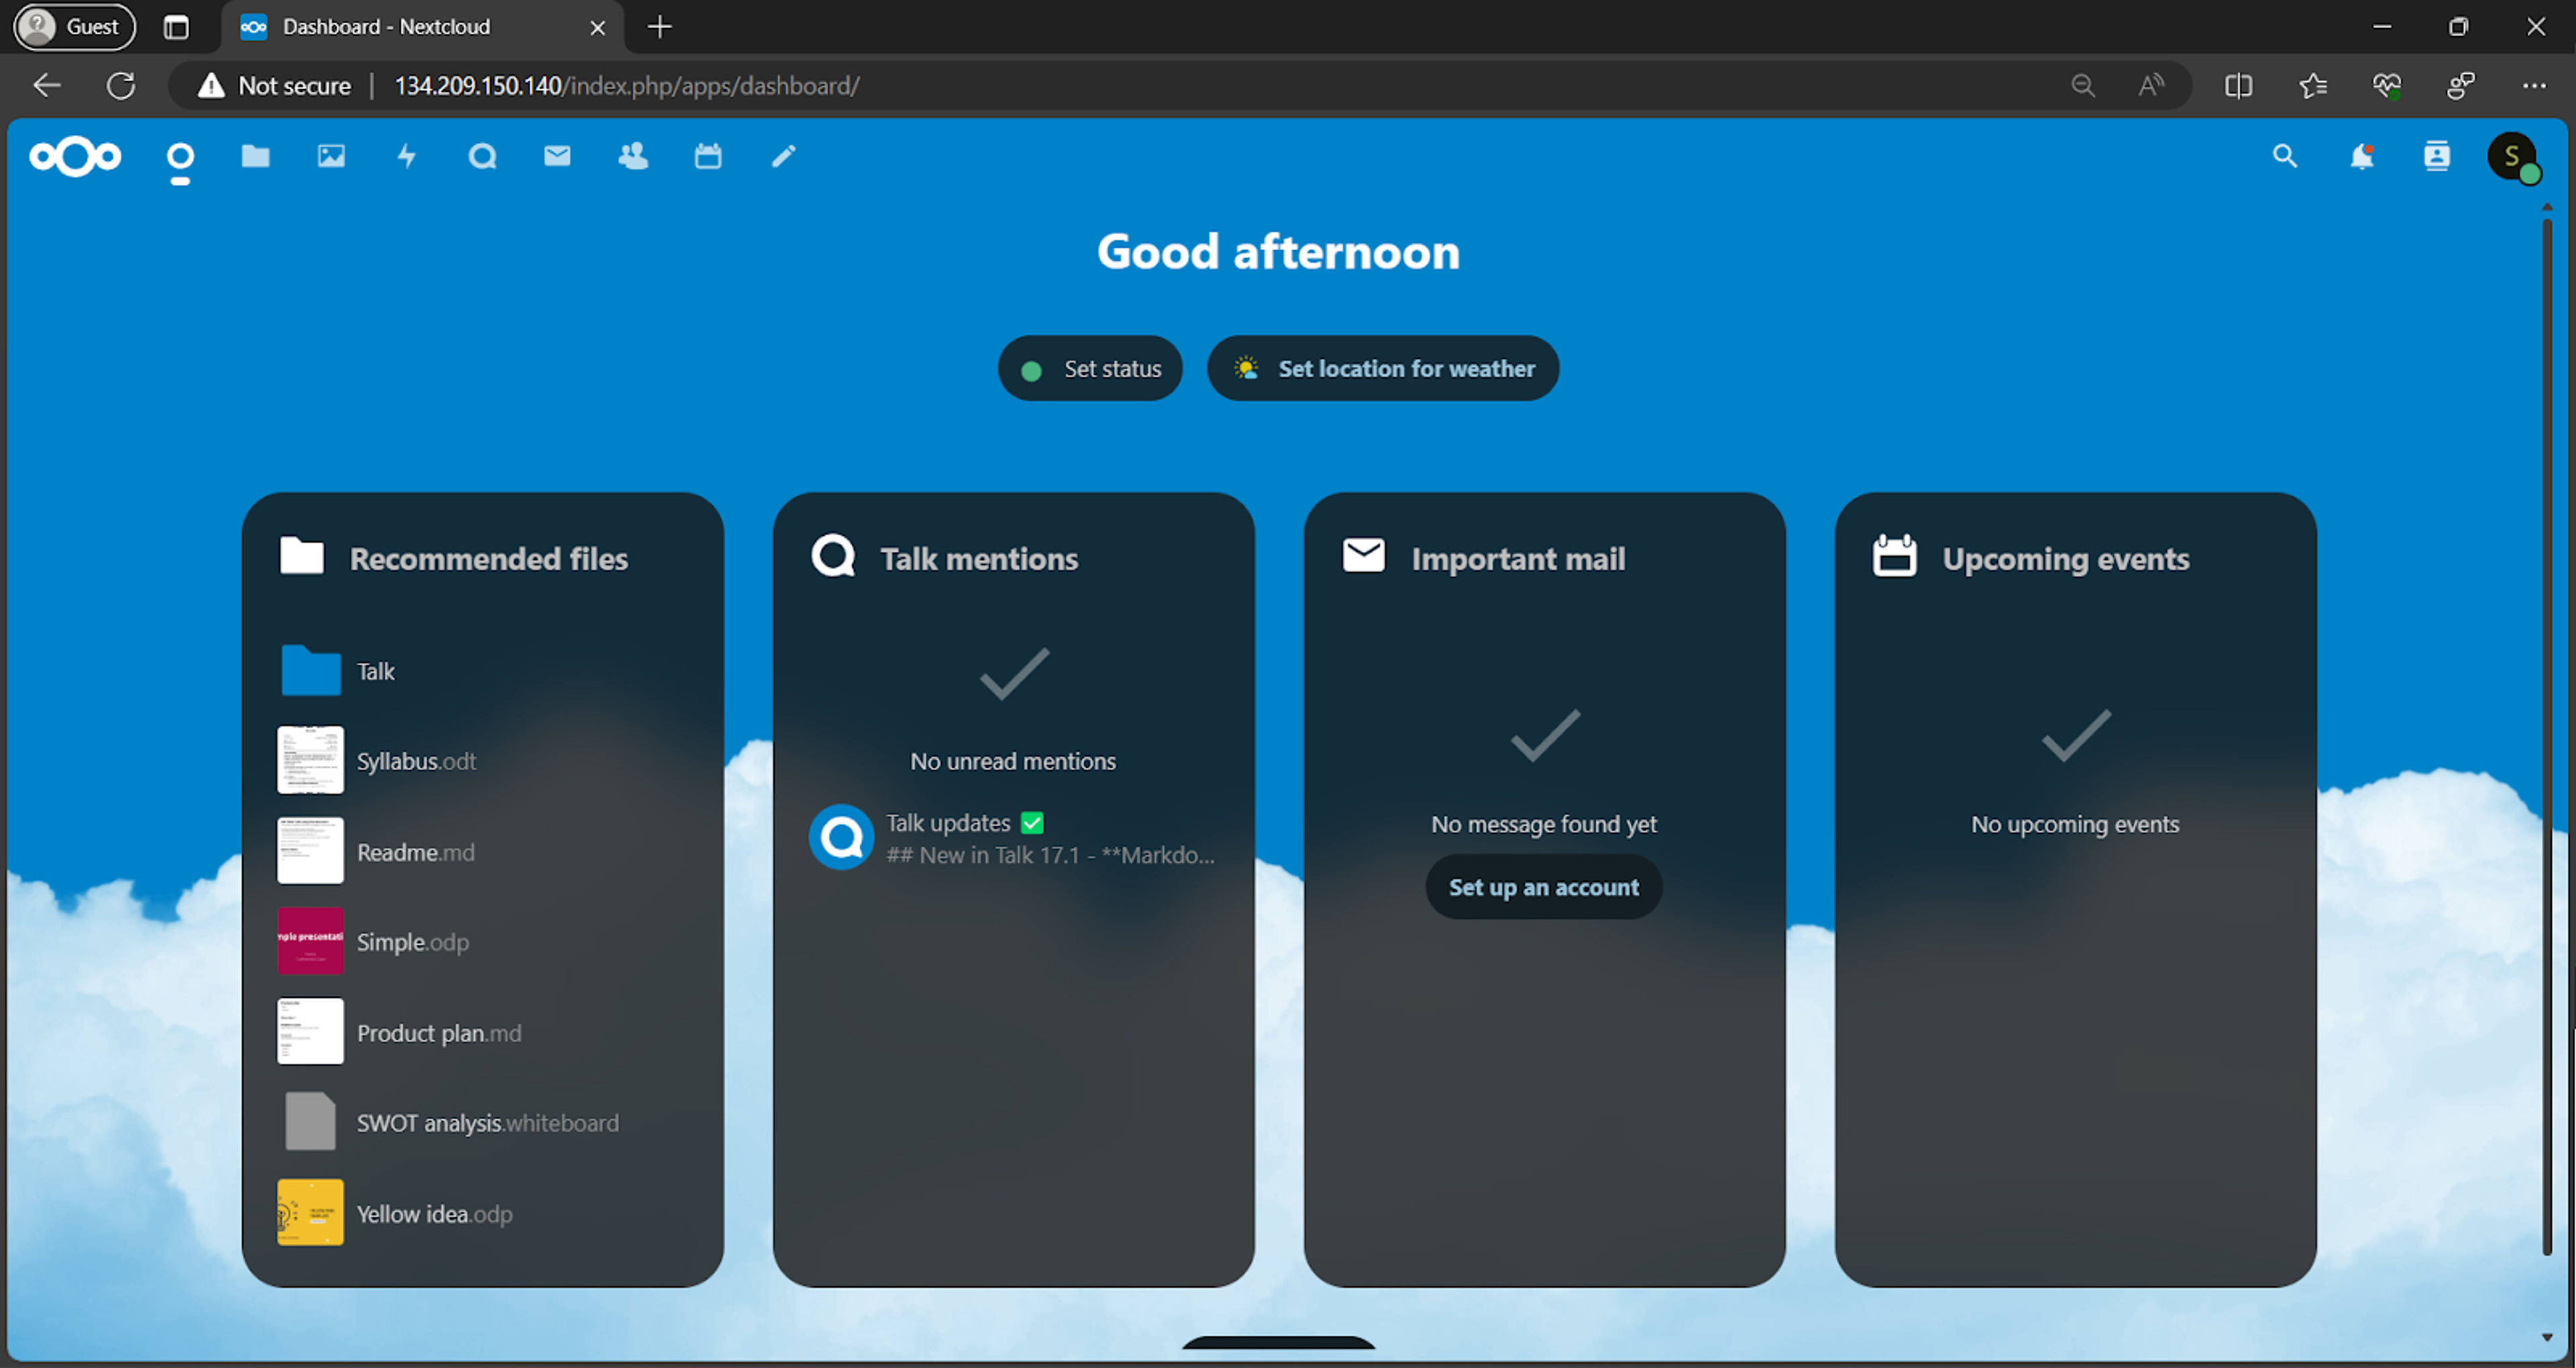
Here we have completed the installation of NextCloud and you can start using it. But we currently have to access it using the IP address of the server. Lets move to the next step to configure the domain name.
Step 3: Configure the domain name
To access the NextCloud using domain name, we need to configure our DNS records for domain name to point to the server's IP address. You can do it by going to your domain registrar's website and adding an A record pointing to your server's IP address.

Make sure to change the domain name and IP address with your actual domain name and IP address.
Note: Dns records usually propagate quickly but sometimes it may take upto 24 hours to propagate. You can check the propagation status using whatsmydns.net.
Step 4: Configure SSL
We now have everything setup but its always better to secure the website using SSL. NextCloud comes with a built-in script to generate SSL certificate using LetsEncrypt. Run the following command to generate the SSL certificate.
sudo nextcloud.enable-https lets-encrypt
It will ask you some questions for which you have to seect proper options and then it will generate the SSL certificate.
Have you met these requirements? (y/n) y
Then you will be asked to enter your email address which will be used for recovery and notifications. Make sure to enter a valid email address.
Please enter an email address (for urgent notices or key recovery): [email protected]
Then you will be asked to enter the domain name for which you want to generate the SSL certificate. Enter the domain name and press enter.
Please enter your domain name(s) (space-separated): nextcloud.selfhostlabs.dev
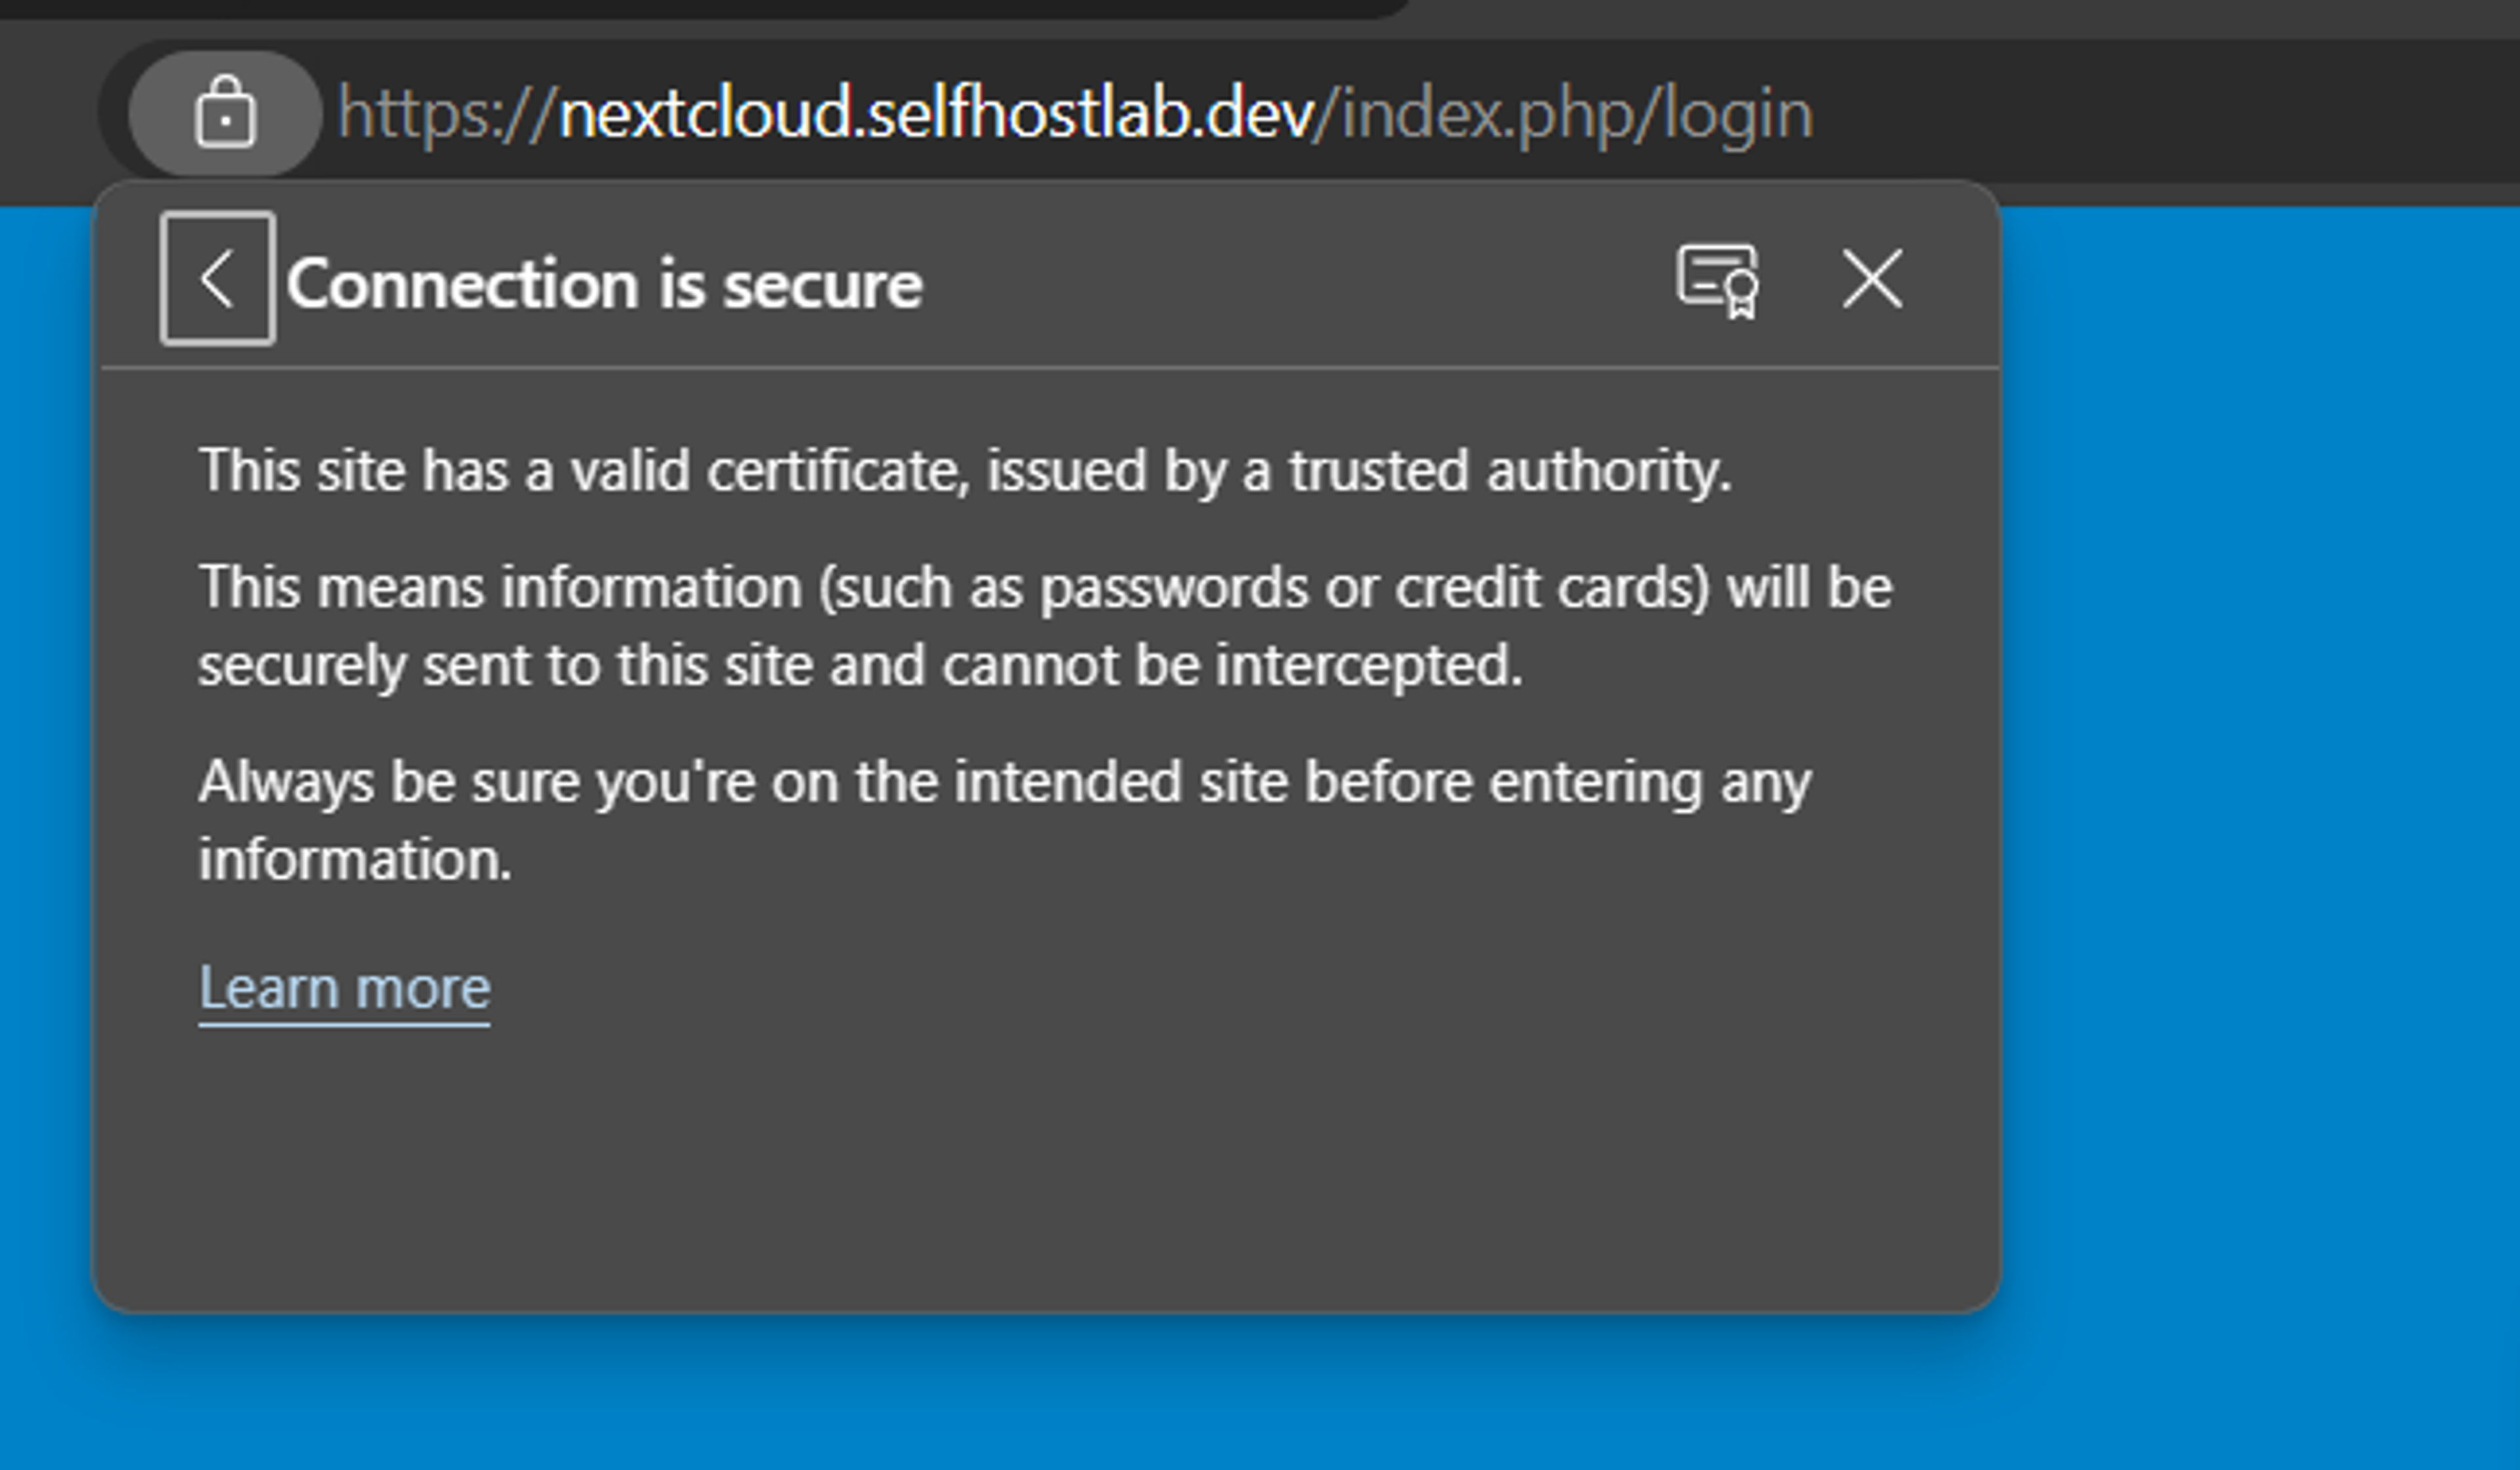
Once the SSL certificate is generated, you can access the NextCloud using the domain name and it will be secured using SSL.
Conclusion
You are now all set to use NextCloud. You can start using it to store your files, photos, contacts, calendars and much more. You can also install additional apps to add more functionality to your NextCloud. I hope you find this guide helpful. If you have any questions or suggestions, feel free to leave a comment below.